Updating Text and Content on Your WebX Website
There are two essential elements for every website: Pages and Posts. There are several differences between Pages and Posts, but creating and editing them are similar. Depending on your website content, if you have articles or news page, you will use the Posts features, otherwise, you can focus on Pages as the core of your website edits.
Pages: Think of pages as the permanent fixtures of your website, showcasing static information like your About Us, Contact, or Services pages. They remain unchanged over time, providing essential details about your business.
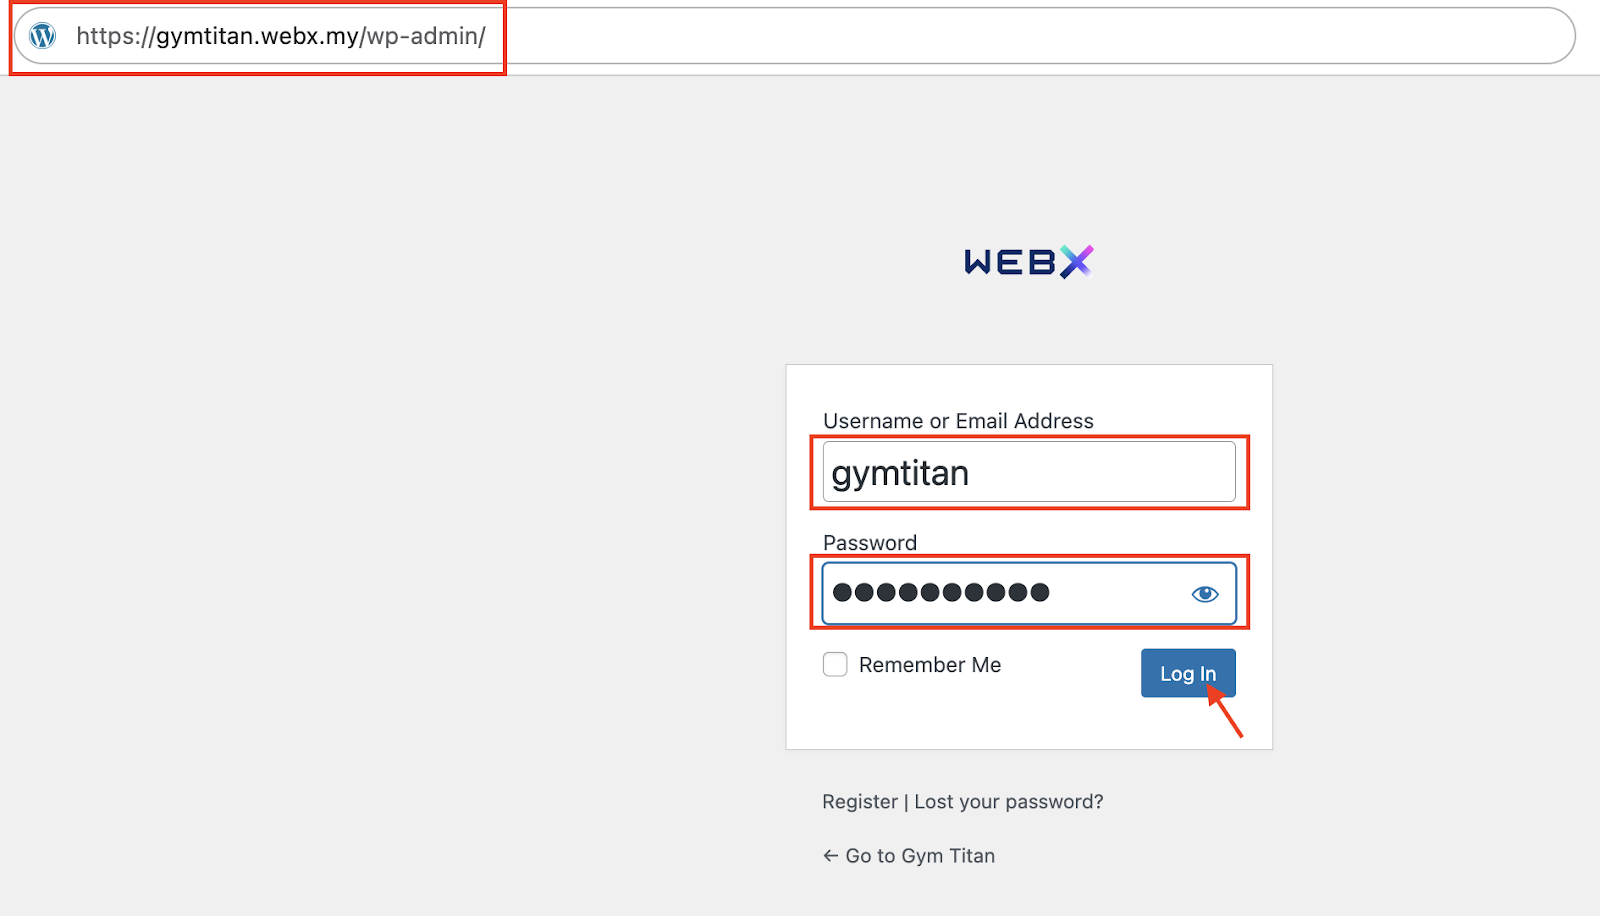
- Go to your WebX admin website e.g. yourwebsitename.webx.my/wp-admin or yourwebsitedomainname.com/wp-admin.
- Log in to your WebX Admin account.
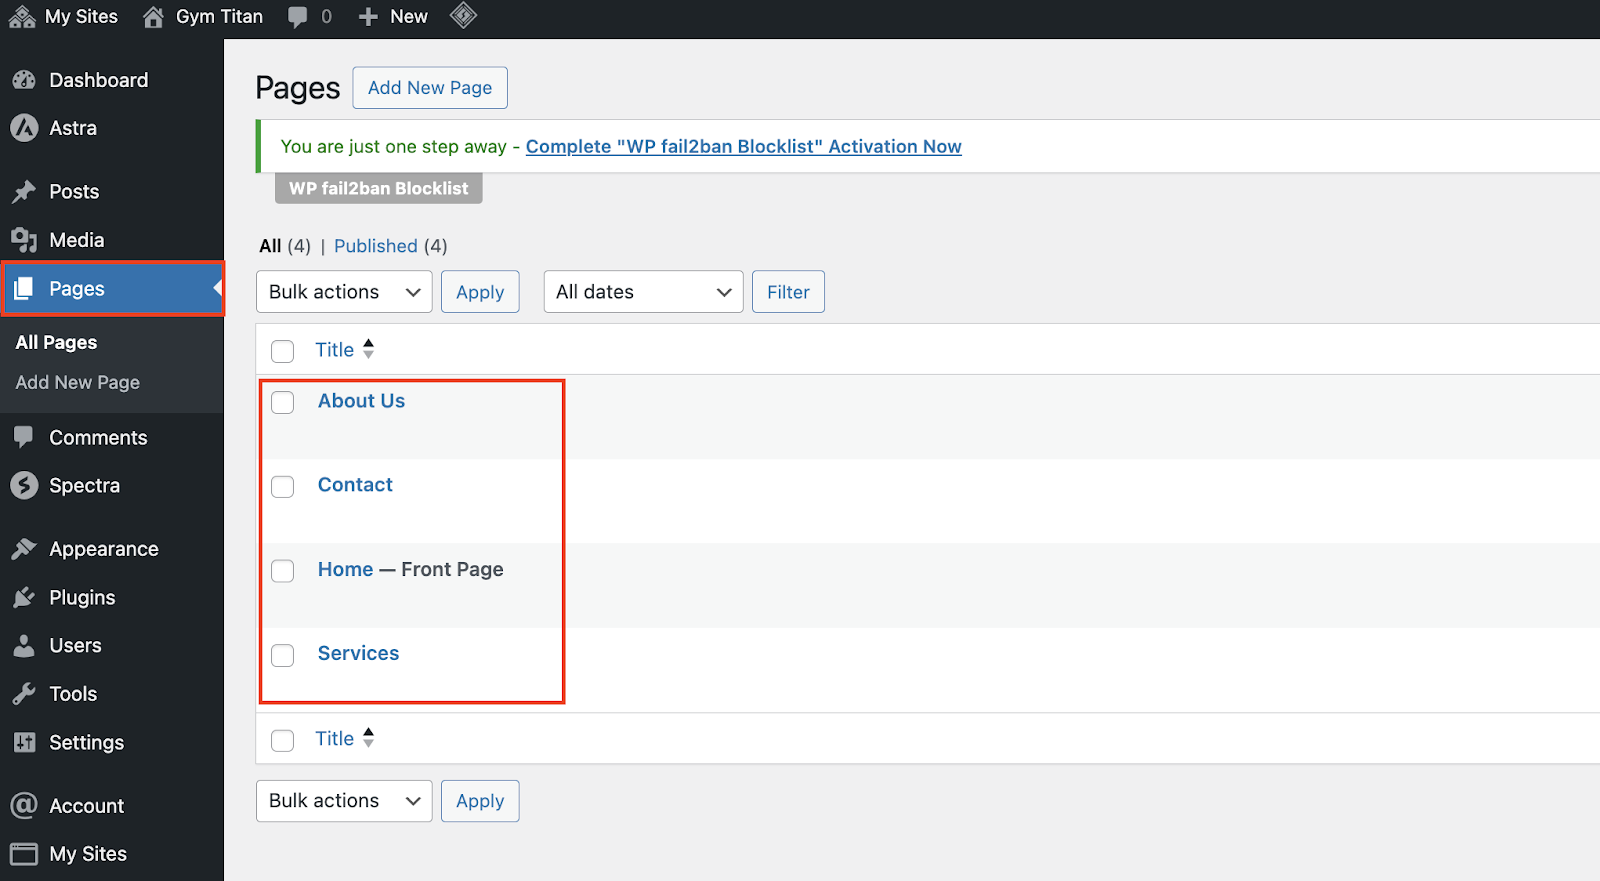
- Click on Pages.
- You will see the list of pages that have been created for your website.
- Click on any of the pages that you want to modify.
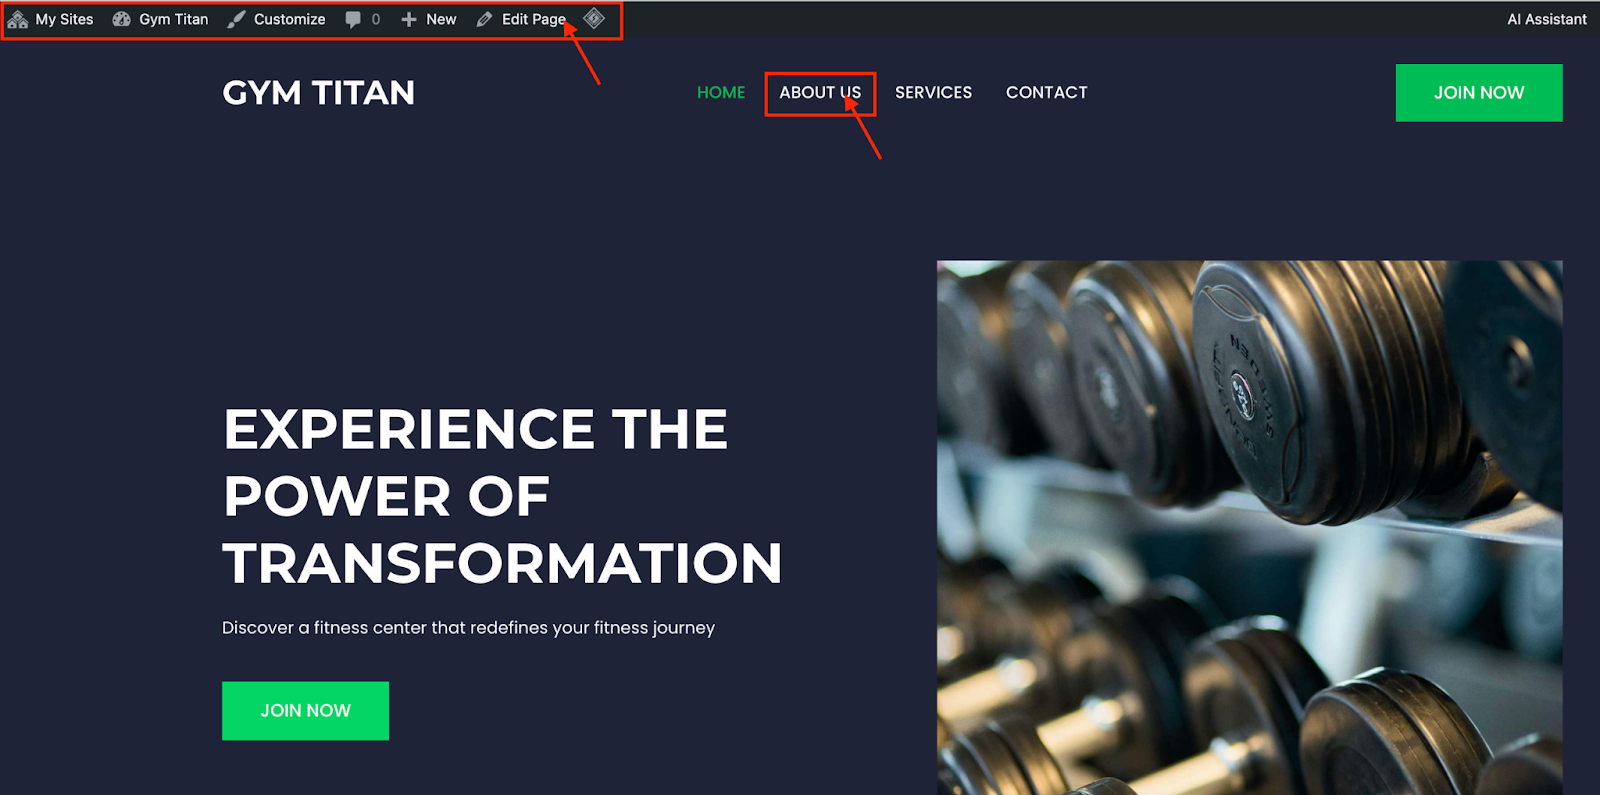
- Alternatively, once you are logged in, you can also go back to your website page (yourwebsitename.webx.my or yourwebsitedomainname.com).
- You will now see that there is an admin navigation menu on the top bar.
- You can go to any pages in the website and click on Edit Page to modify the content.
- You will see the website page in editing mode. You can click on any container to edit the content. Example, click on the Title, Description or any text box to change the text content.
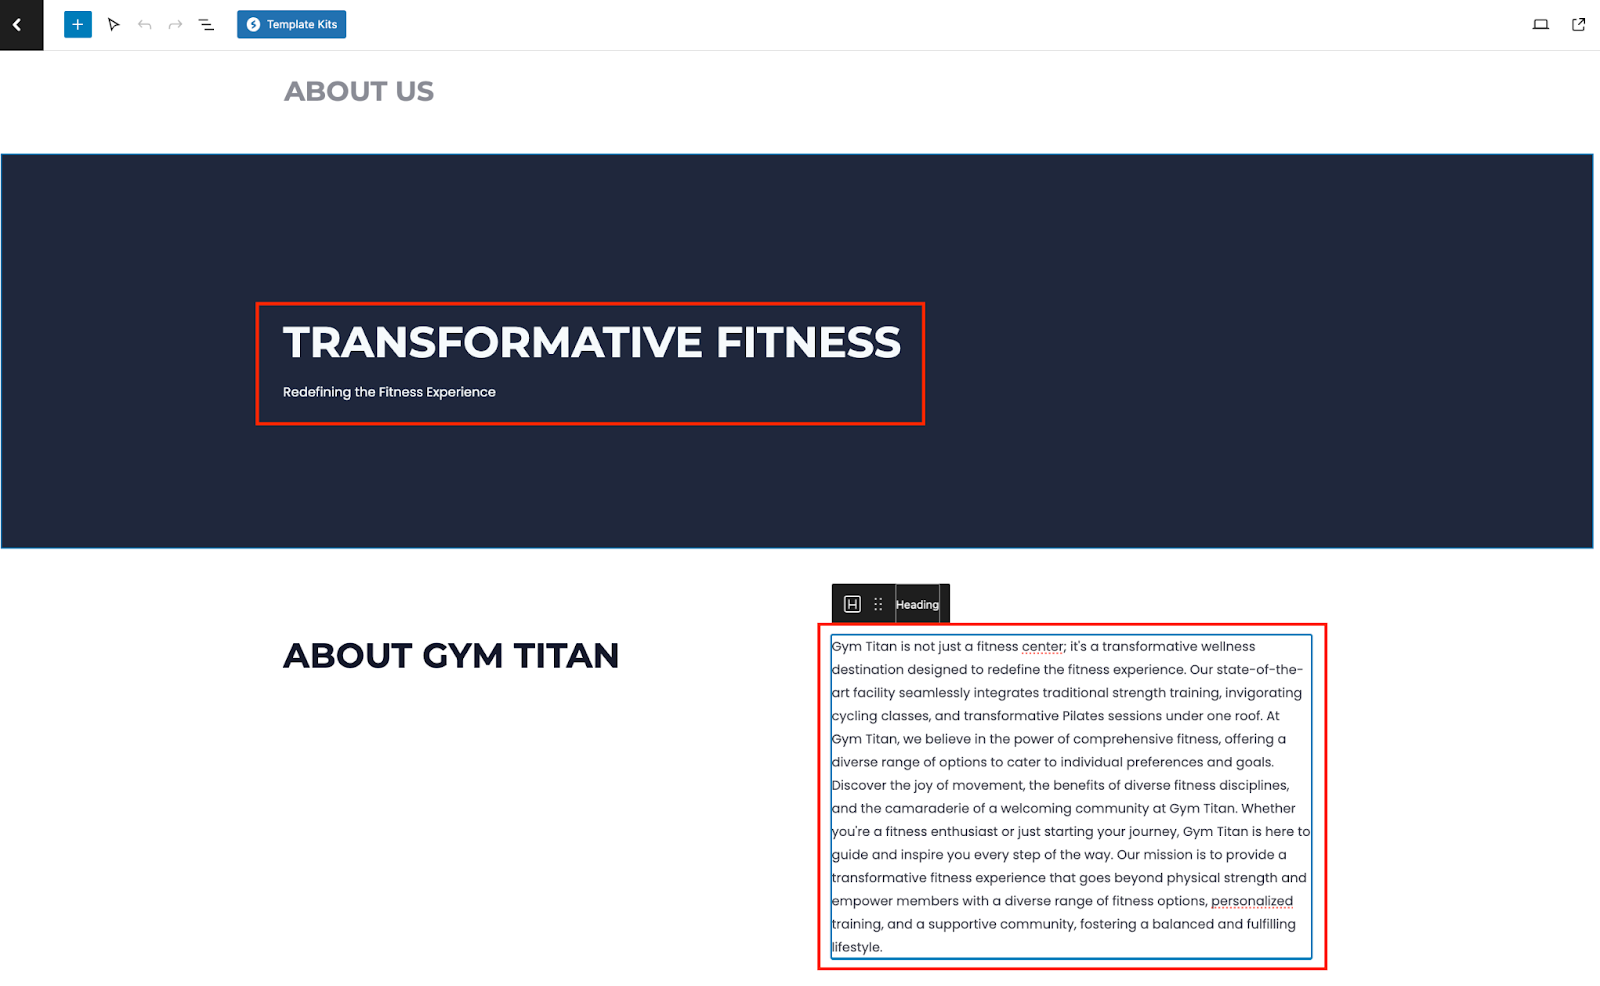
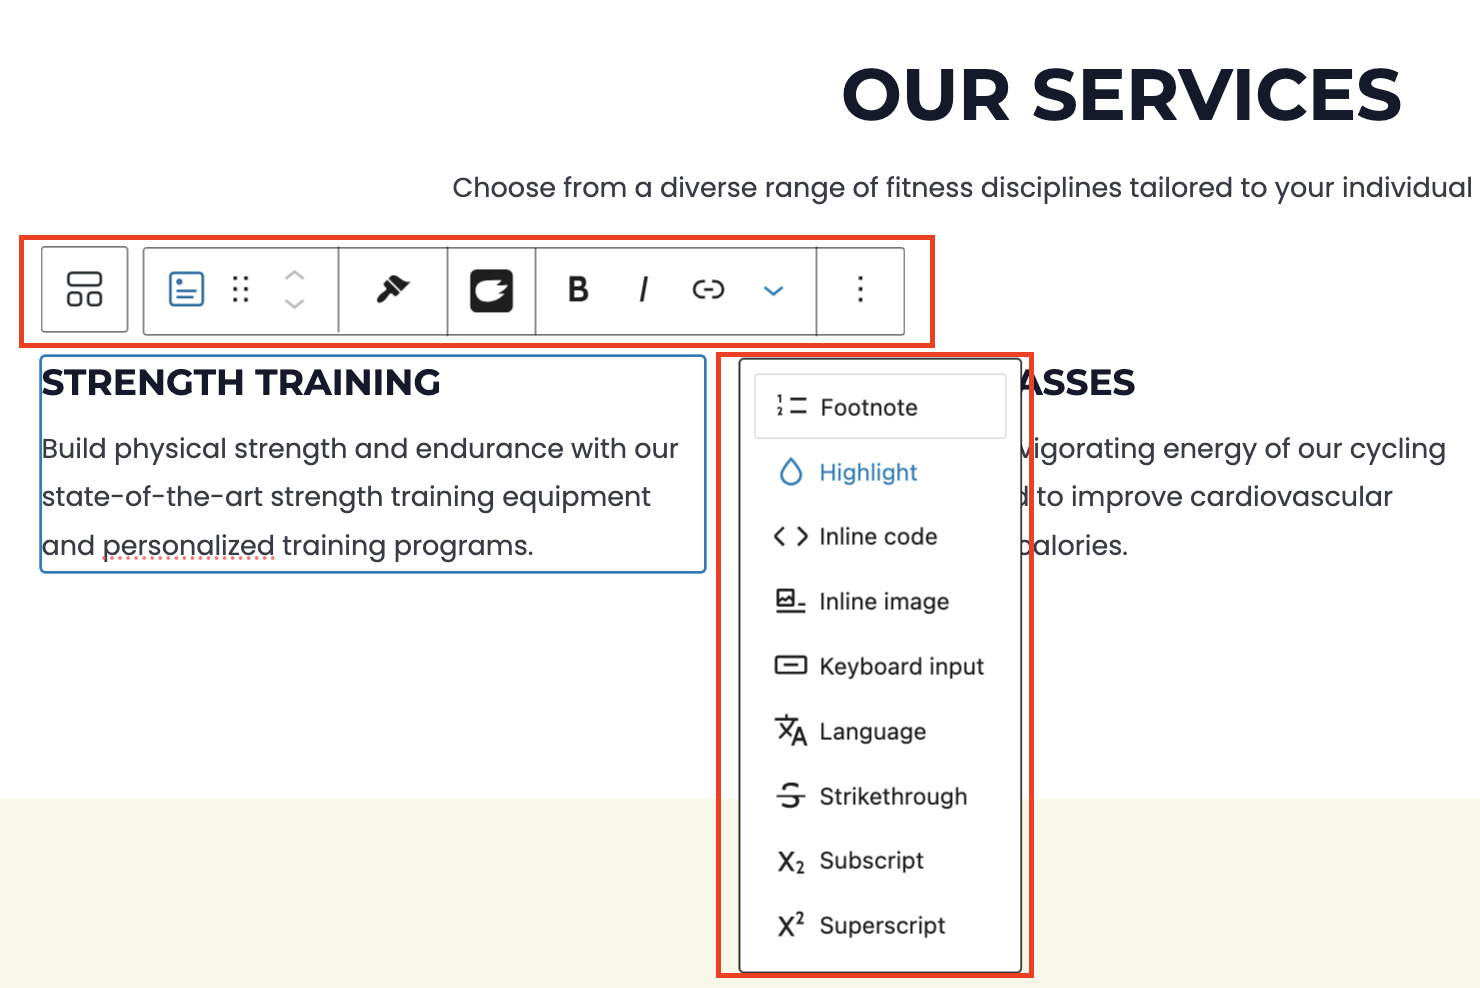
- When you click on the text box container, you will see the text editor on top where you can format the text accordingly e.g. Bold, Italic, Highlight, Strikethrough etc.
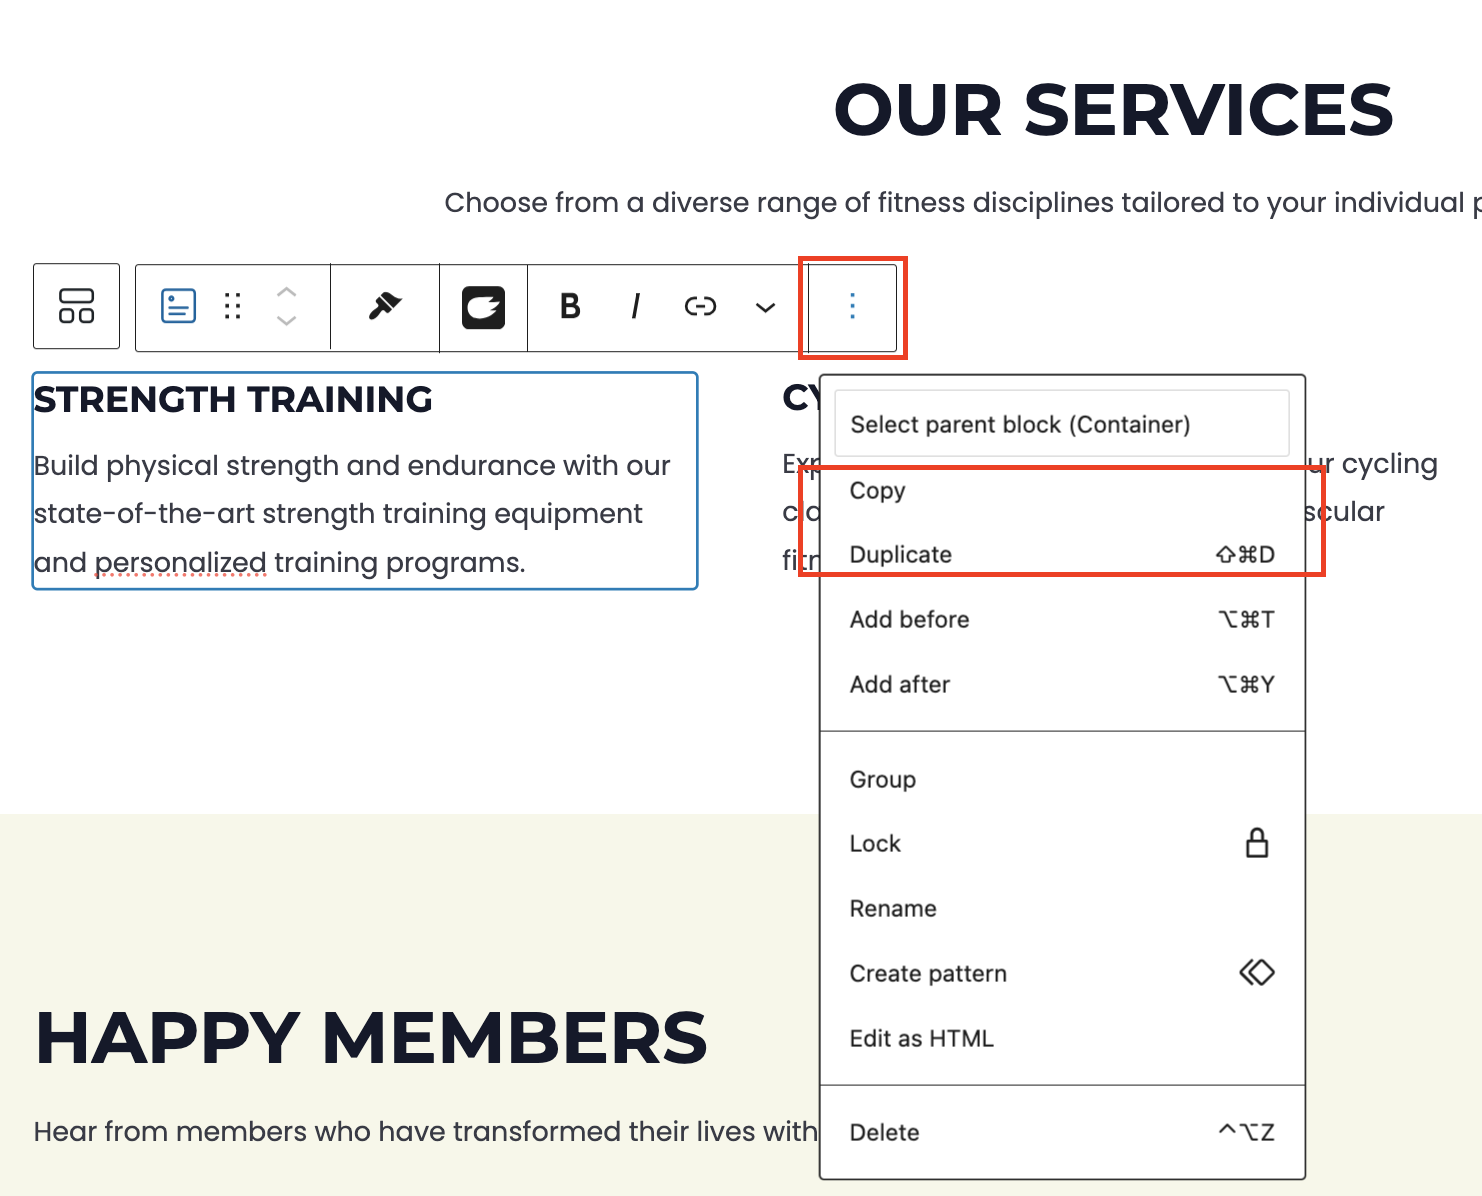
- Additionally, you can click on the 3 dots option. Here, you can Copy or Duplicate the whole text box and edit the content to maintain the similar style.
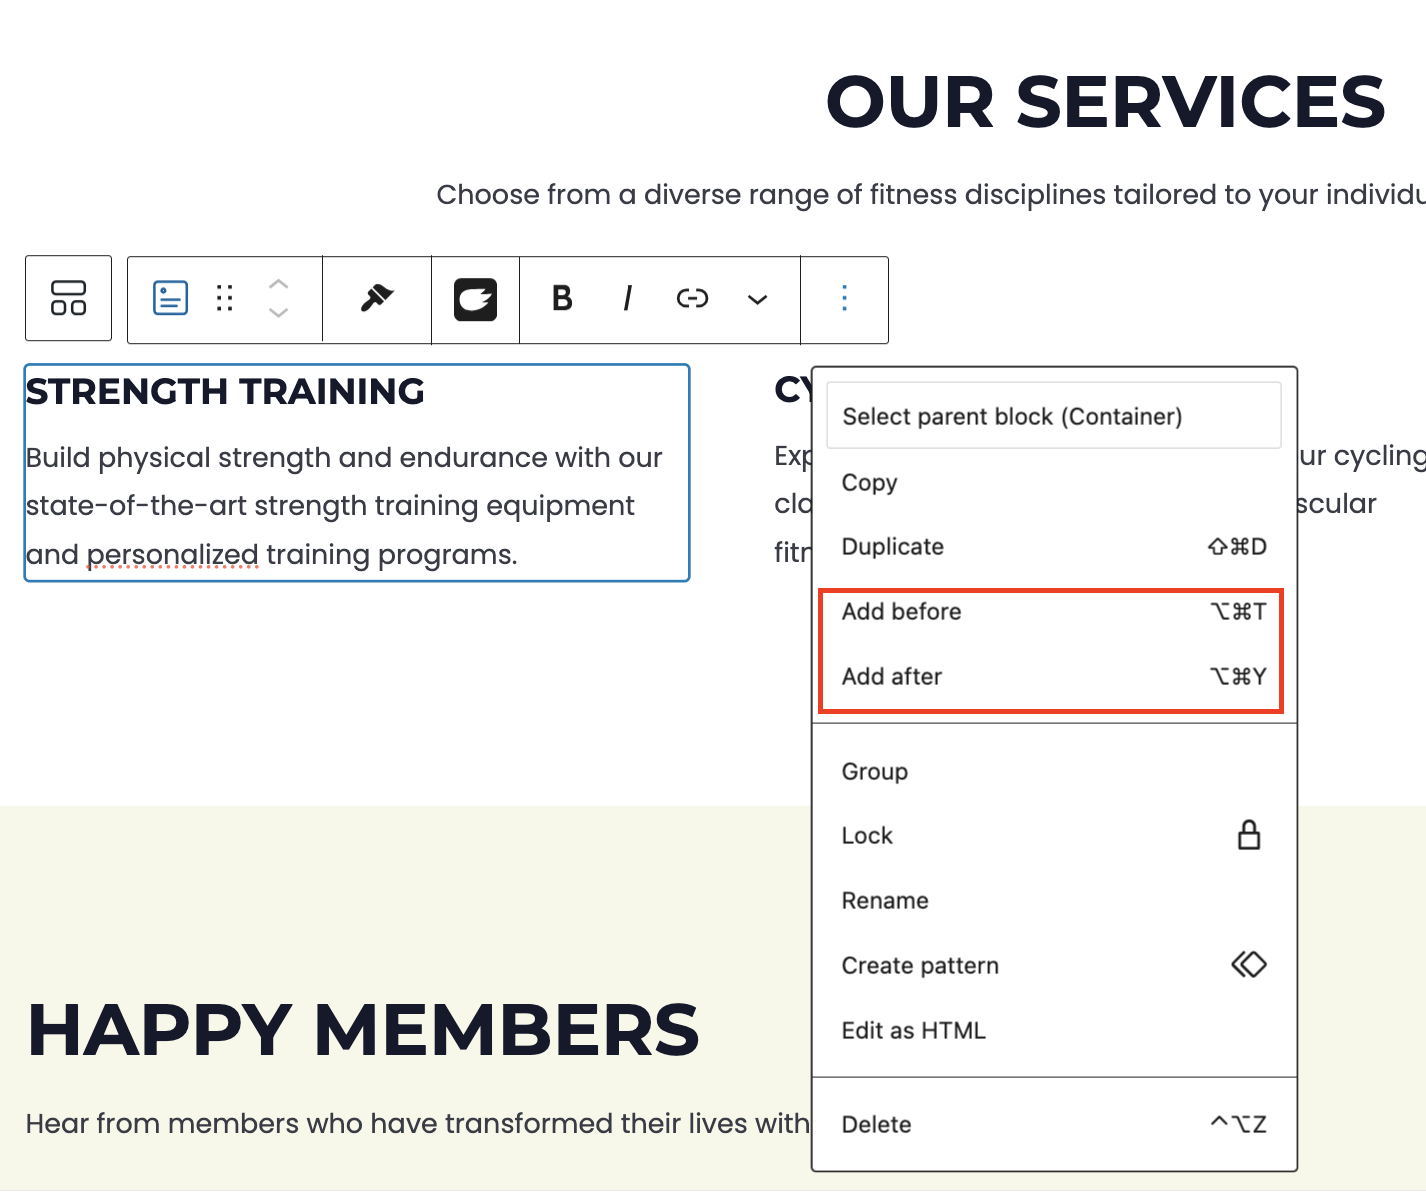
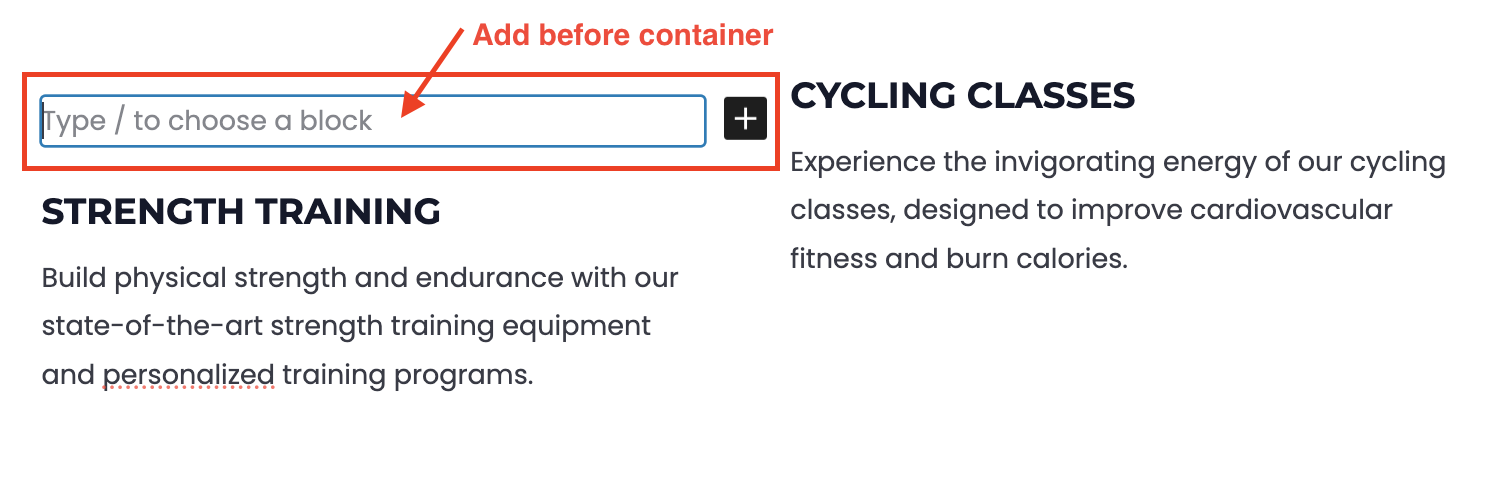
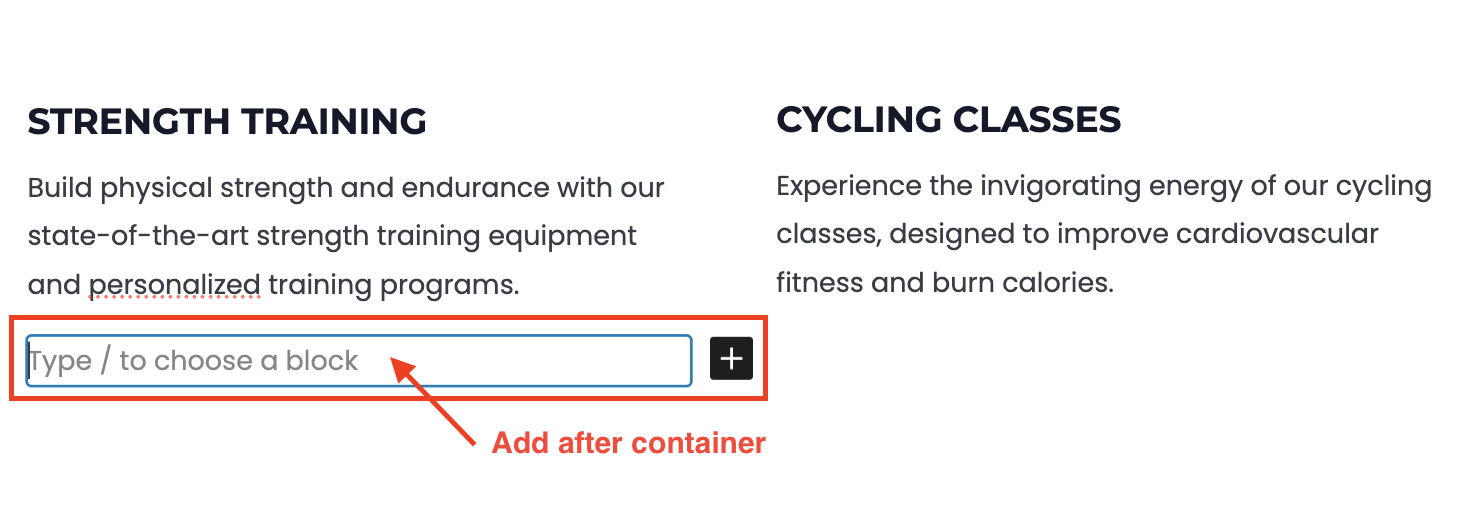
- At the same time, click on Add before to add the whole text container above it. Click on Add after to add the whole text container below it.
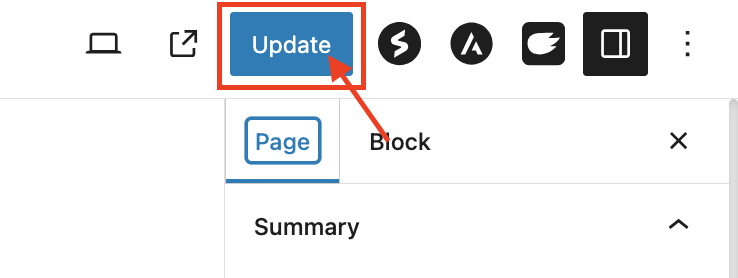
- Once done with all the updates, click on Update on the top right bar.
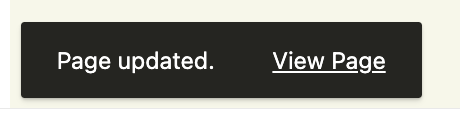
- Once you see this note at the bottom left, your page has been saved and you can click on View Page to see the new changes.
Posts: These are your dynamic content engines, perfect for sharing timely updates, news, or blog entries. They appear in a chronological order, keeping your website fresh and engaging for visitors.
- Log in to your WebX Admin Panel dashboard.
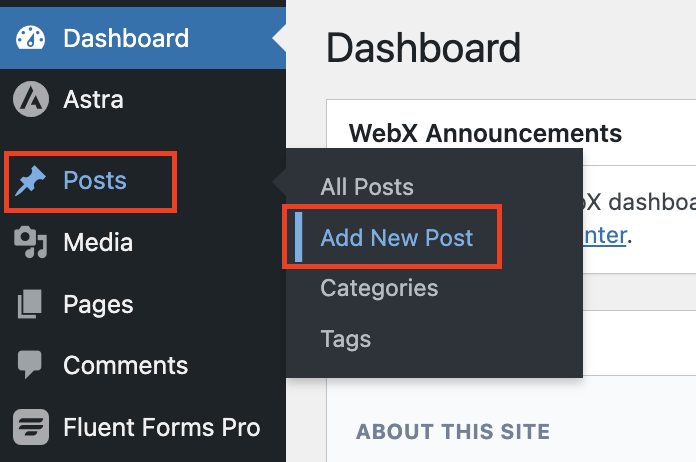
- Hover to Pages on the left panel menu.
- Click on Add New Page. To create a Post, hover to Posts and click on Add New Post.

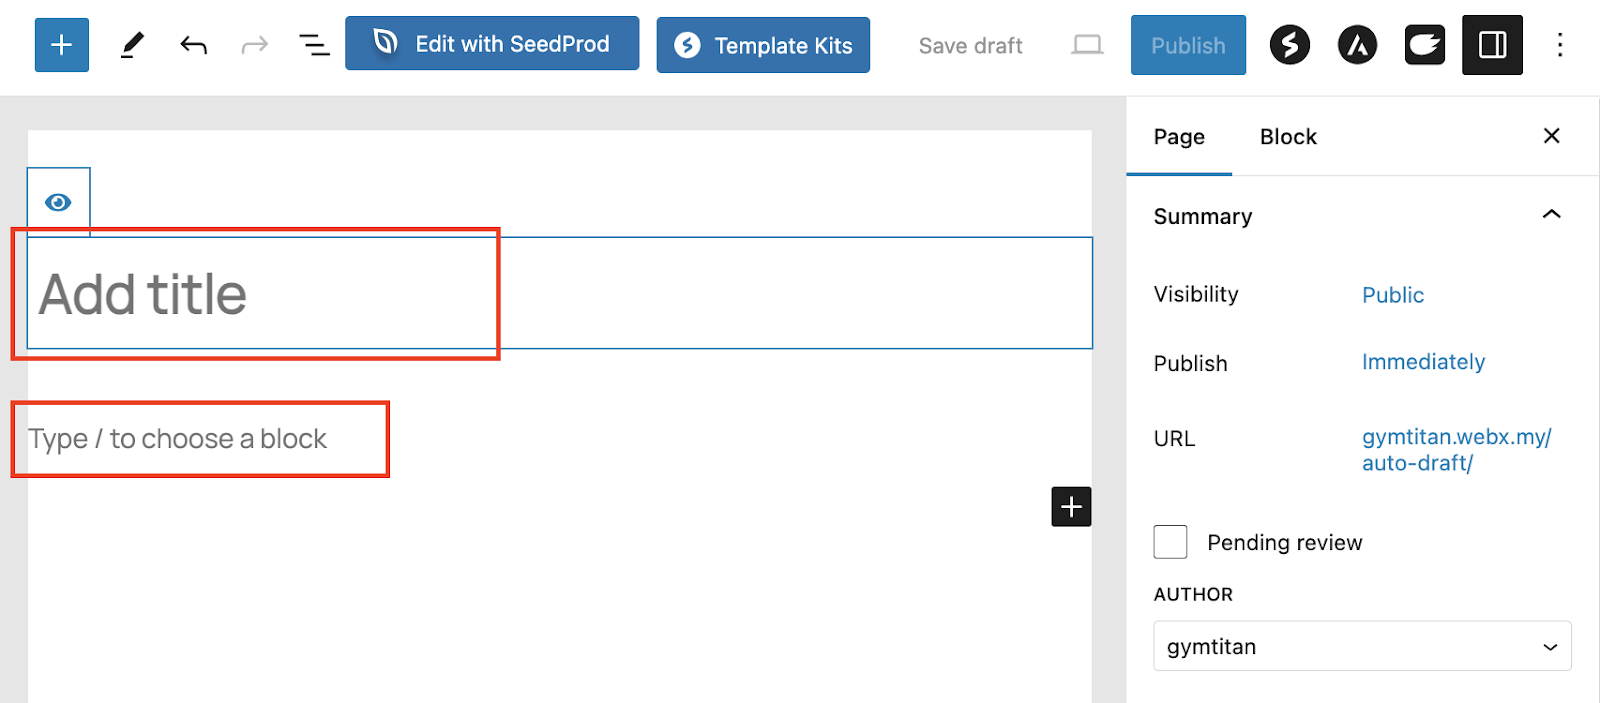
- Add a title to the Page you are creating.
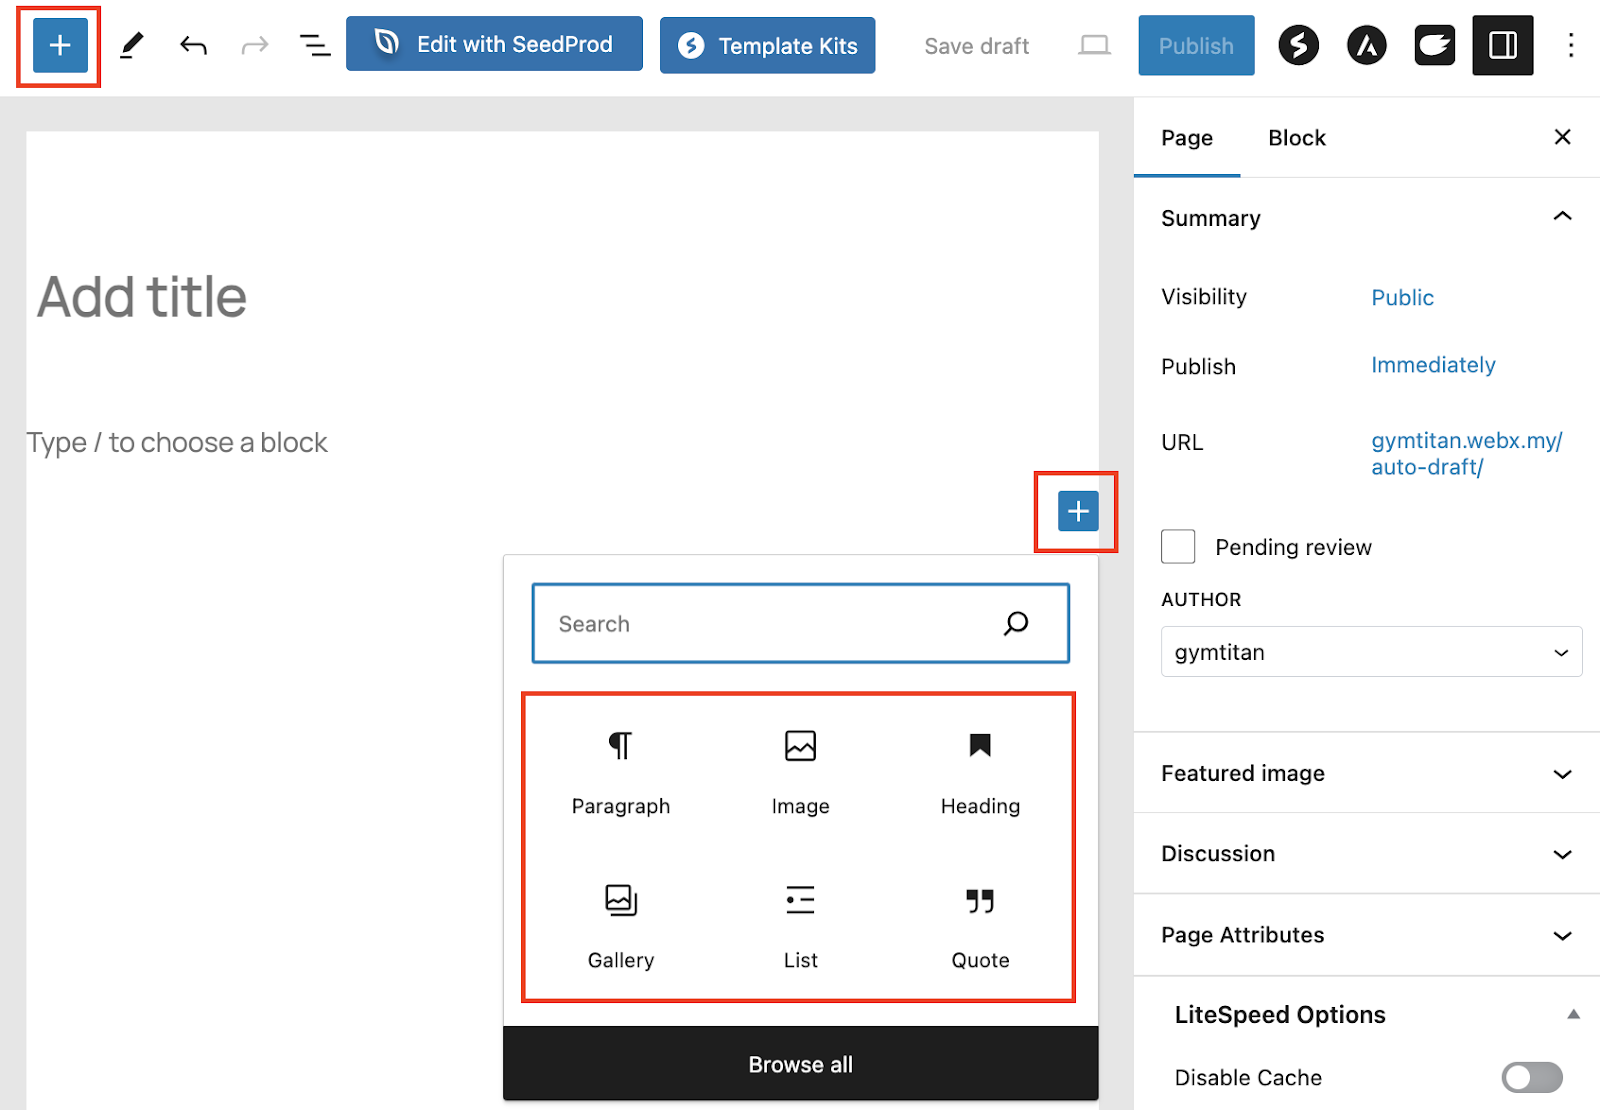
- Click in the body area (under the title) and start adding the content for the page.
- You can click on the plus sign button to add different block types.
- Once done, you can click Save Draft to save your work, Preview to see how it looks on your website, or Publish to push the pages or posts live on your website.