Adding and Editing Buttons on Your WebX Website
-
gymtitan
-
February 29th, 2024
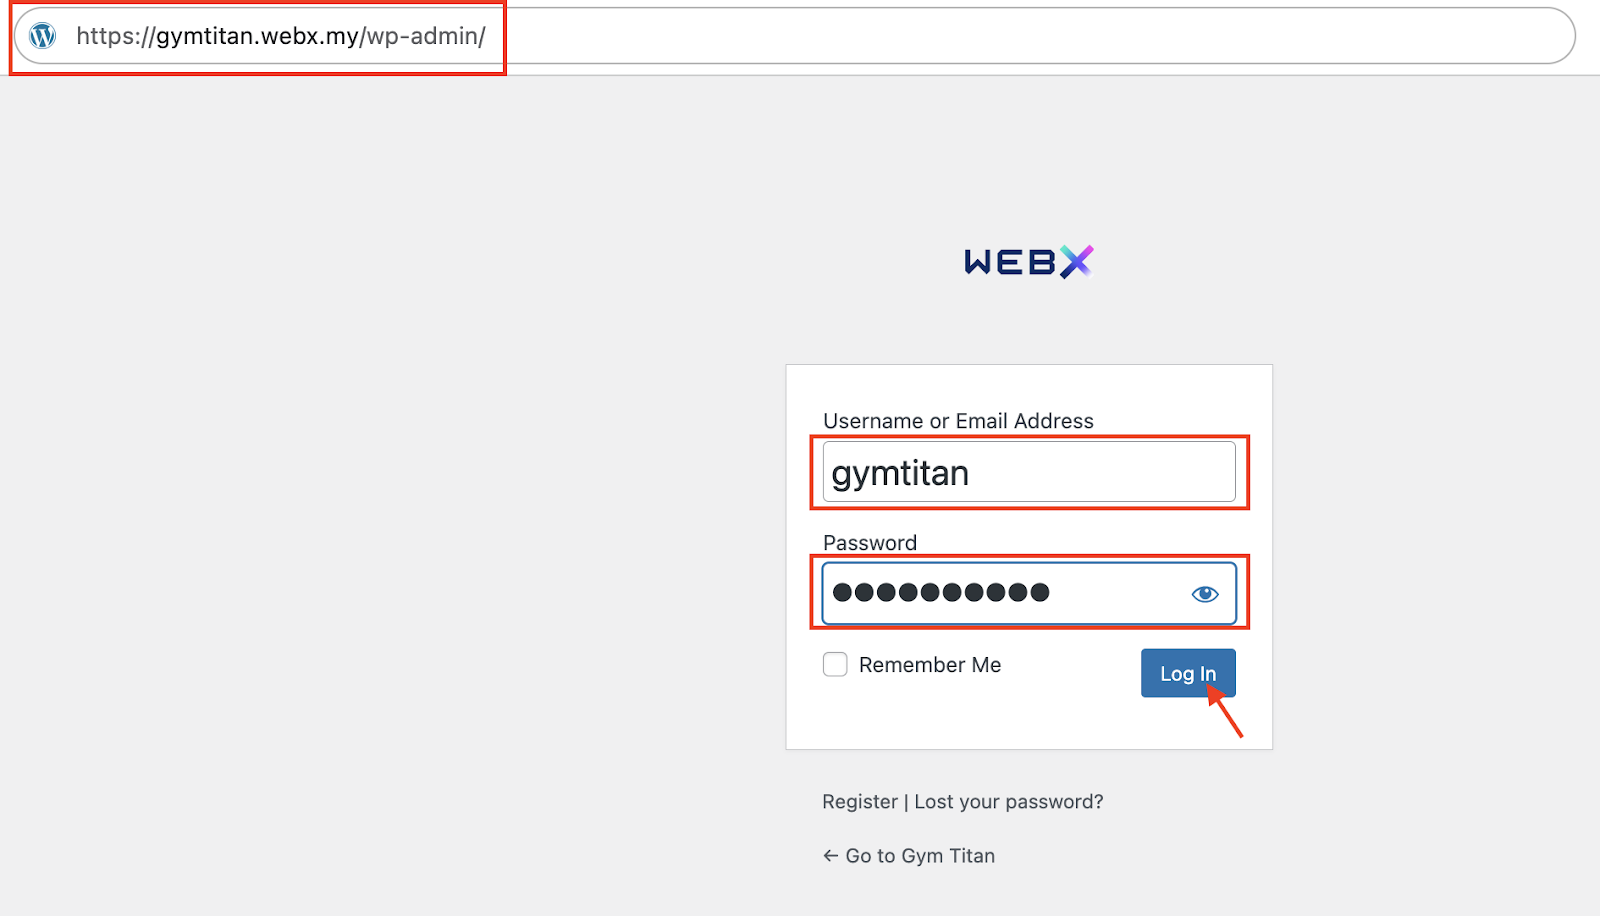
- Go to your WebX admin website e.g. yourwebsitename.webx.my/wp-admin or yourwebsitedomainname.com/wp-admin.
- Log in to your WebX Admin account.
- Click on the Pages on the left side panel and select the Page that you want to modify the button on.
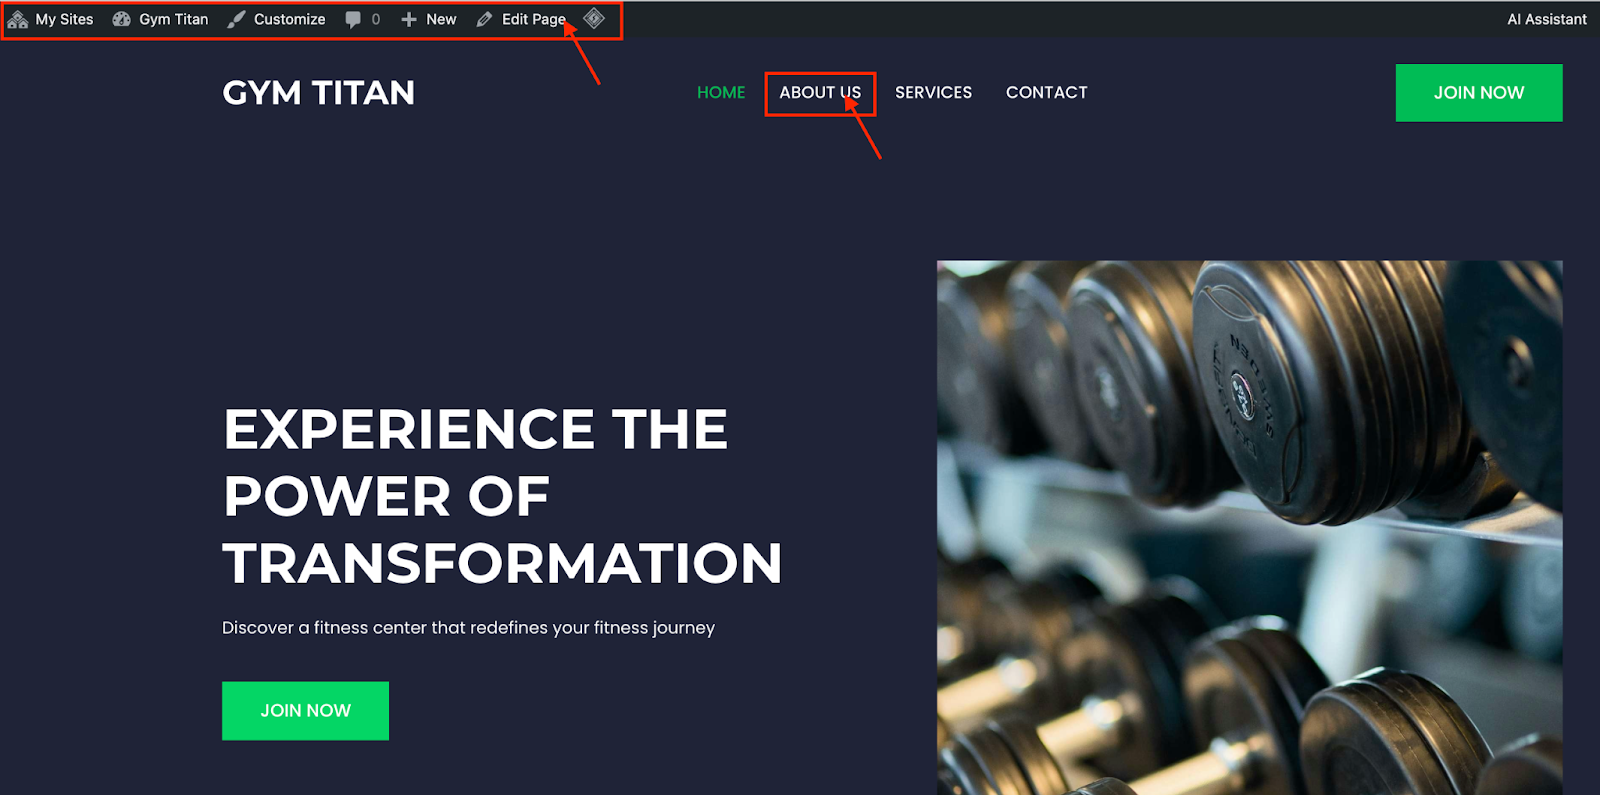
- Alternatively, once you are logged in, you can also go back to your website page (yourwebsitename.webx.my or yourwebsitedomainname.com).
- You will now see that there is an admin navigation menu on the top bar.
- You can go to the pages in the website that you want to modify the buttons and click on Edit Page to modify the webpage content.
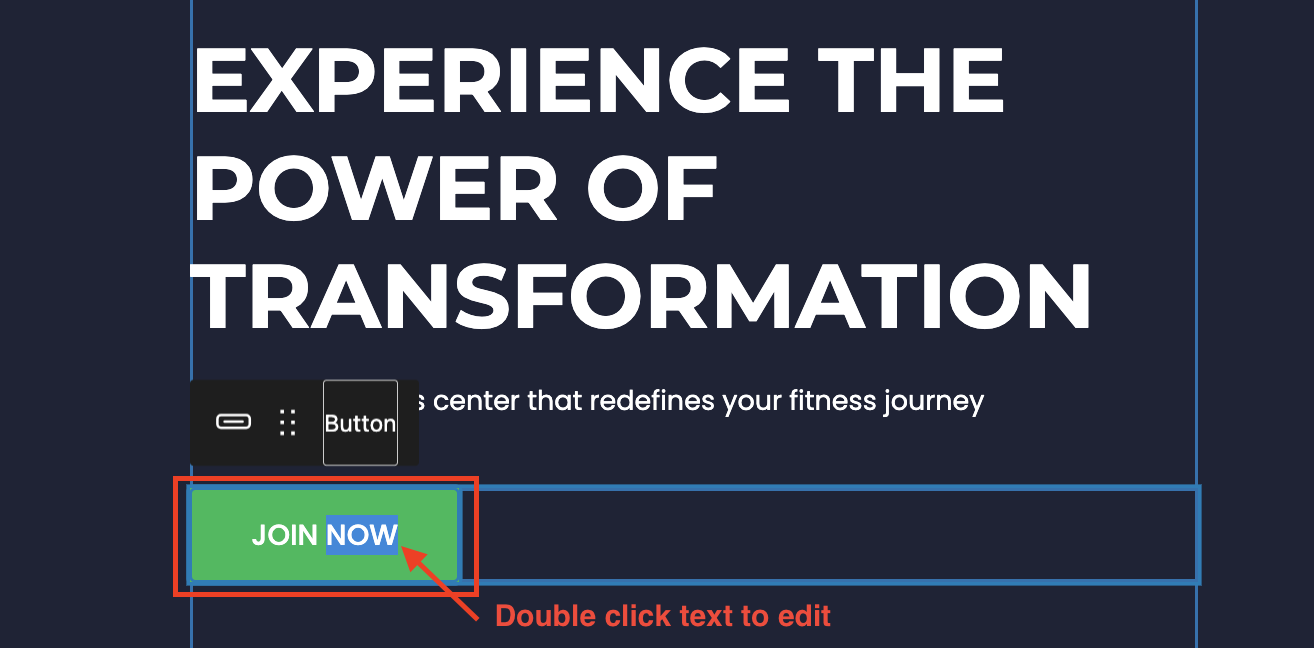
- You will see the website page in editing mode.
- Double click on the Button to edit the text.
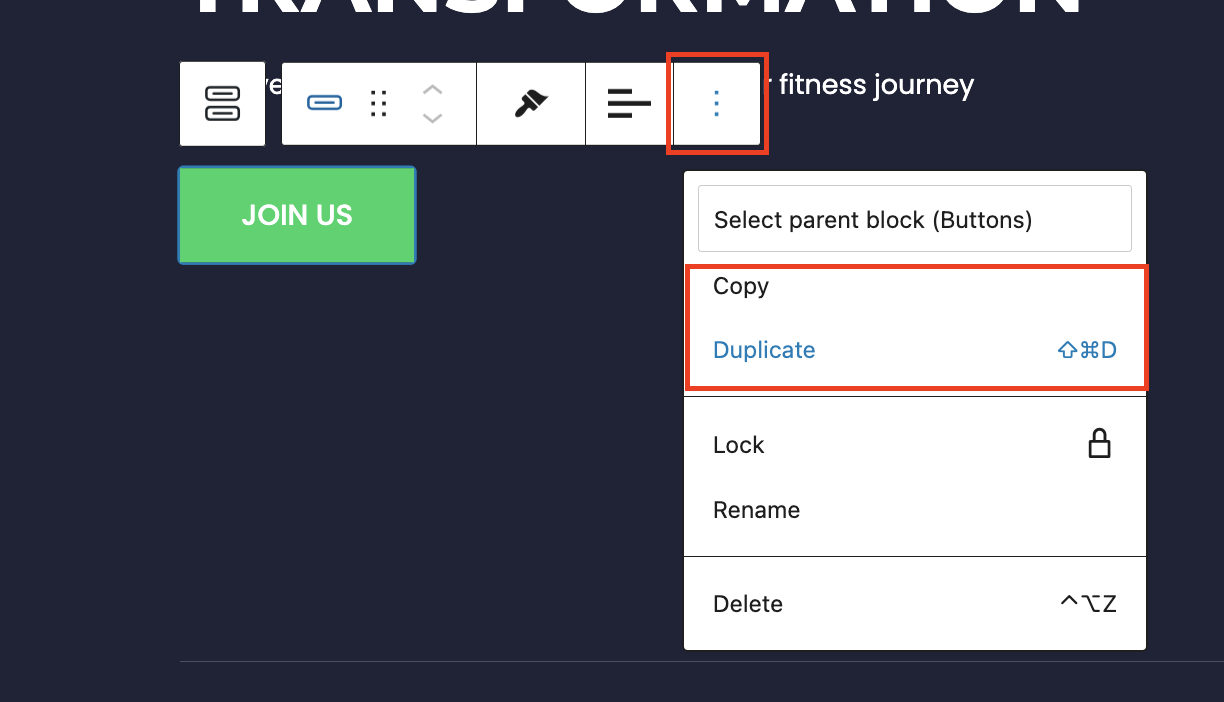
- Click on the Button. Then, click on the 3-dots option. You can Copy or Duplicate the button if required.
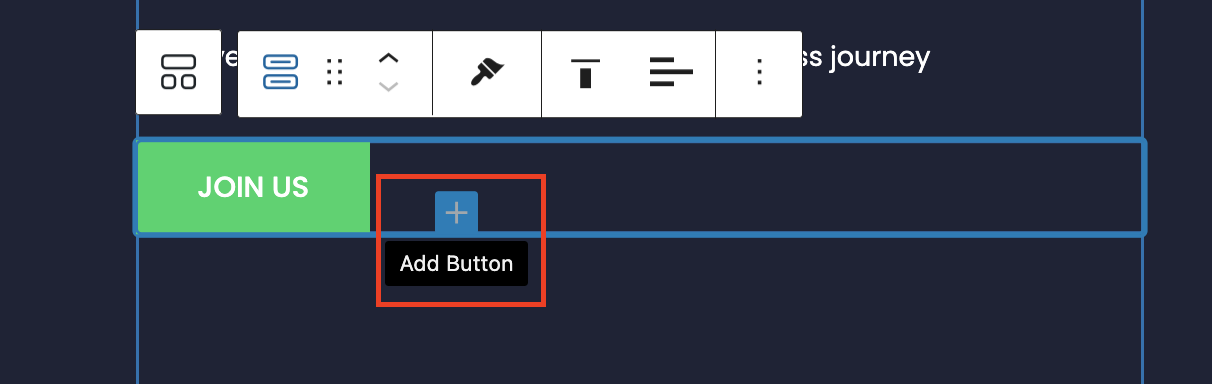
- Alternatively, you can click on the container box. Then, click on the + sign button to Add Button directly.
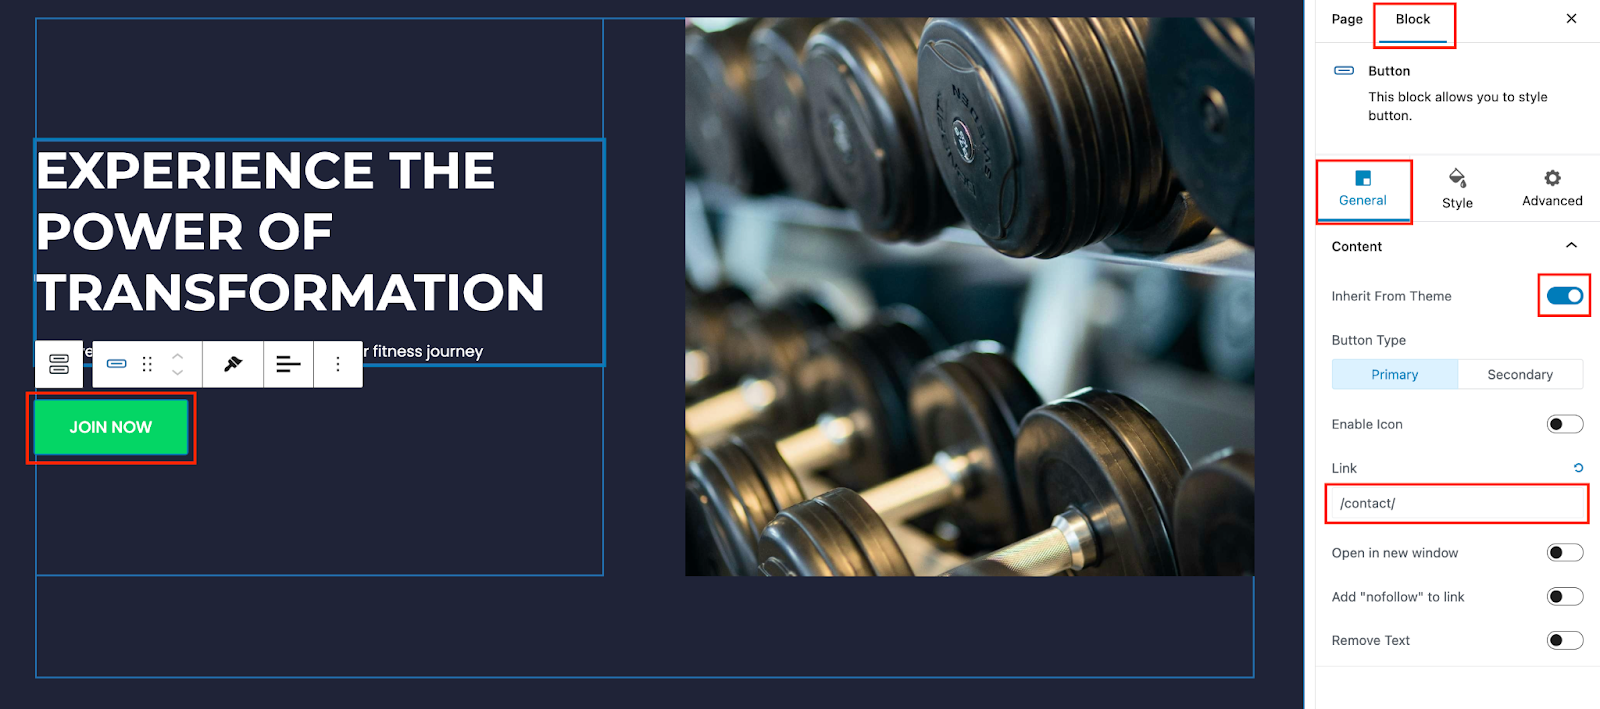
- When you click on the Button, you will see more settings on the right side panel.
- Click on the Block tab then General.
- Here, you can select the option Inherit From Theme. The button will follow the standard global theme of your website.
- You can update the Link of the button to any webpage or URL accordingly.
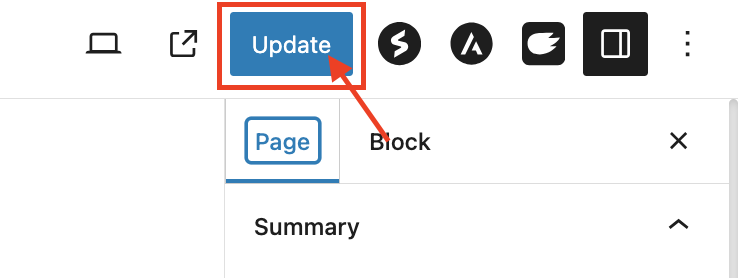
- Once done, click on Update on the top right bar to save your changes.
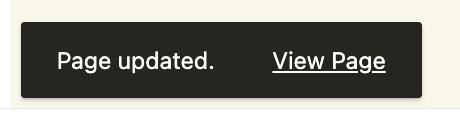
- Once you see this note at the bottom left, your page has been saved and you can click on View Page to see the new changes.